This dressing is especially great for taco salads or any salad with leftover meat or hard-boiled eggs on it!
CHECK OUT OUR RECIPES PAGE FOR MORE GREAT RECIPES!!!
INGREDIENTS:
1/2 cup extra virgin olive oil
1/4 cup raw apple cider vinegar (we use Bragg brand)
2 TBSP raw honey
2 TBSP tomato paste (only ingredient should be, “tomatoes”)
1 tsp onion powder
1/2 tsp garlic powder
1/2 tsp paprika
¼ tsp dry mustard
¼ tsp chili powder
¼ tsp freshly ground black pepper
NOTE: Only ingredient in each spice should be that spice (e.g., “garlic”). The chili powder should list just single, real spices (e.g., “chili powder, paprika, onion, etc.) and no vague words like “spices” or chemical ingredients you don’t understand!)
*Check out our Grocery Shopping Guide for our tips on selecting the most additive-free versions of every ingredient used in our recipes.
DIRECTIONS:
Whisk ingredients together in a bowl.
Use a funnel to transfer to a storage bottle.
Enjoy!
This recipe makes about 1 cup.
If you try it and like it, save time by making a quadruple batch (which will fill a 32 oz. jar as shown here – although filling a bottle that full does make it difficult to shake it well); it will also use nearly the whole 6 oz. can of tomato paste, too.
Please try it, and comment below to let me know how you like it!
(Psst….If you enjoy this recipe, be sure to get yourself a copy of our additive-free cookbook & grocery shopping guide, “Eating Additive-Free“! It’s stuffed with 150+ more tasty recipes!! Your satisfaction is guaranteed…or your money back!)
We’ve been using this detergent recipe for a few years, and it works great!
Here’s the “recipe” in this video (written details are also listed below)…
What you need –
-5 gallon bucket with lid
-long paint stick (can get from the paint dept. when you get a bucket & lid)
-bar soap (5.5 oz) that is not perfumed (look for hand-made soaps in local shops or farmers markets; you should be able to find soaps that contain only: “Saponified Oils of Palm and Coconut; Glycerine”)
-1/2 cup of Borax
-1 cup Washing Soda (not Baking Soda but by Arm & Hammer – buy it in the laundry aisle)
INSTRUCTIONS:
Cut bar of soap into small pieces or grate. I strongly recommend GRATING because it will melt so much faster!
Cook soap pieces in 4 cups hot water on cook-top – medium heat; stirring frequently until fully dissolved.
Fill bucket half full with hot tap water
Add the dissolved soap/water from cook-top.
Pour in the Washing Soda & Borax and stir until dissolved
Fill bucket with additional hot tap water – to 5 gallon mark and stir.
Place lid on bucket and let sit overnight to gel.
The next day, stir and pour solution into smaller containers. (Just use old liquid laundry detergent bottles, half gallon or gallon milk/juice/water jugs).
This solution is a concentrate, so be sure to add it to your machine water BEFORE adding clothes. Also, this soap will not form suds – don’t worry, it’s not the suds that do the cleaning; it’s the components of the soap 🙂
I give my jug a quick swish before each use, but vigorous shaking is not necessary.
To add to your wash, pour 1/4 cup per load for top load machines (320 loads) or 1/8 cup for front load or high efficiency machines (640 loads). Some folks have even used only 1 TBSP with front load machines and it worked fine (1280 loads)!!!
**I’ve been told that by adding 1/4 – 1/2 cup of white vinegar to the rinse cycle, this makes the clothes super soft and keeps your washing machine hoses clean as well as helps eliminate any odors on clothing….AND……fabric softener sheets in the dryer can be replaced by simply adding vinegar to the rinse cycle. If you don’t have a liquid fabric softener spot on your machine you could use one of those Downy balls and fill instead with vinegar.
Okay, so I found this suggestion on the Internet for hiding SPINACH in popsicles….but I made up the name myself, I swear 🙂 You can adjust this recipe with any fruits and juices you like, and the spinach is totally optional, too!
This recipe comes out to about 1/4 cup spinach in each popsicle and you can’t even taste it at ALL!!!!!
CHECK OUT OUR RECIPES PAGE FOR MORE GREAT RECIPES!!!
(For more great recipes and all of the grocery shopping tips you need to ensure that you select the most additive-free versions of every ingredient you need to make over 150 natural recipes, check out my book “Eating Additive-Free“!)
I had to tell a “white lie” to the kids the first time I made these…..I said they were green from food coloring. (Well, actually the kids assumed that so I just didn’t correct them…but lies of omission are still guilt-inducing… so after they ate half of their pops and liked them, I broke it to them that it was spinach. And then we changed the name to “Popeye Pops,” which I don’t recommend unless your kids are cool with the idea of having spinach for dessert 🙂
INGREDIENTS:
-2 cups of fresh spinach, packed tightly
-1 medium pineapple, cut into chunks
-3 medium ripe bananas
-1/2 cup orange juice (preferably freshly squeezed)….or you can just use water, and maybe add some raw honey at the end if you don’t think it’s sweet enough.
DIRECTIONS:
Blend pineapple, bananas and juice (or water) in blender until smooth. Add half of the spinach and blend until smooth. This works best if you “plunge” the spinach down into the mixture with a spoon before blending. Add the rest of the spinach (and plunge down) and blend until smooth.
Pour into popsicle molds and freeze. Drink any leftover “batter” as a smoothie 🙂
Freeze at least 4 hours or until frozen solid.
*If you taste the mixture before freezing it, please realize that it won’t taste nearly as sweet as it will once it’s all the way frozen.
*I called these “Monster Pops” because, well, they’re green…and also to play up that fact as something that was “cool” before the kids had a chance to decide it was “gross.” 🙂
CHECK OUT OUR RECIPES PAGE FOR MORE GREAT RECIPES!!!
Folks are always asking me, “What can I drink besides water?!” I know they’re hoping I’ll present them with a recipe for diet soda that’s homemade and somehow magically healthful for them, but unfortunately that doesn’t quite exist. LOL! So why not try some Kombucha!! It’s a fermented tea – full of healthful probiotics. Pretty much the opposite of soda pop! 🙂
You can buy it at the store, but it costs about 4 bucks per bottle!!! So we save $$ and make our own!!!
The steps of this recipe are organized with the assumption that you have in your possession some Kombucha starter culture(s), called SCOBY – “Symbiotic Culture Of Bacteria and Yeast.”
My hubby Chad makes 6 half-gallon jars at a time, so you’ll need to divide this recipe by about 6 if you want to make just one jar. Each jar nets you about 5 cups to drink when all is said and done. (Click any pictures to enlarge.)
Chad uses:
*6 kombucha starter cultures (“SCOBY”)
*6 cups kombucha (store-bought or from previous batch)
*3 cups organic cane sugar
*20 green tea bags – we prefer the taste of Whole Foods’ 365 brand OR Uncle Lee’s Organic Green Tea from Walmart)
*6 Liters water
*1/2 -1 Liter ice
Instructions:
Bring 6 liters of water to a rolling boil in a large stock pan. Remove from heat and add the tea bags. Steep for 10-12 minutes.
Meanwhile, place each SCOBY in a half-gallon jar. Add 1 cup of pre-made Kombucha (from a friend or the store – – for each following batch, you can use some of your own!) to each SCOBY/jar. This is done to acidify (lower the pH of) the new solution right away, which will prevent most molds and pathogenic bacteria from growing in it.
After 10-12 minutes, remove tea bags from the water (feel free to compost these!). Add 3 cups cane sugar and stir until dissolved.
Add ice and allow tea to cool completely.
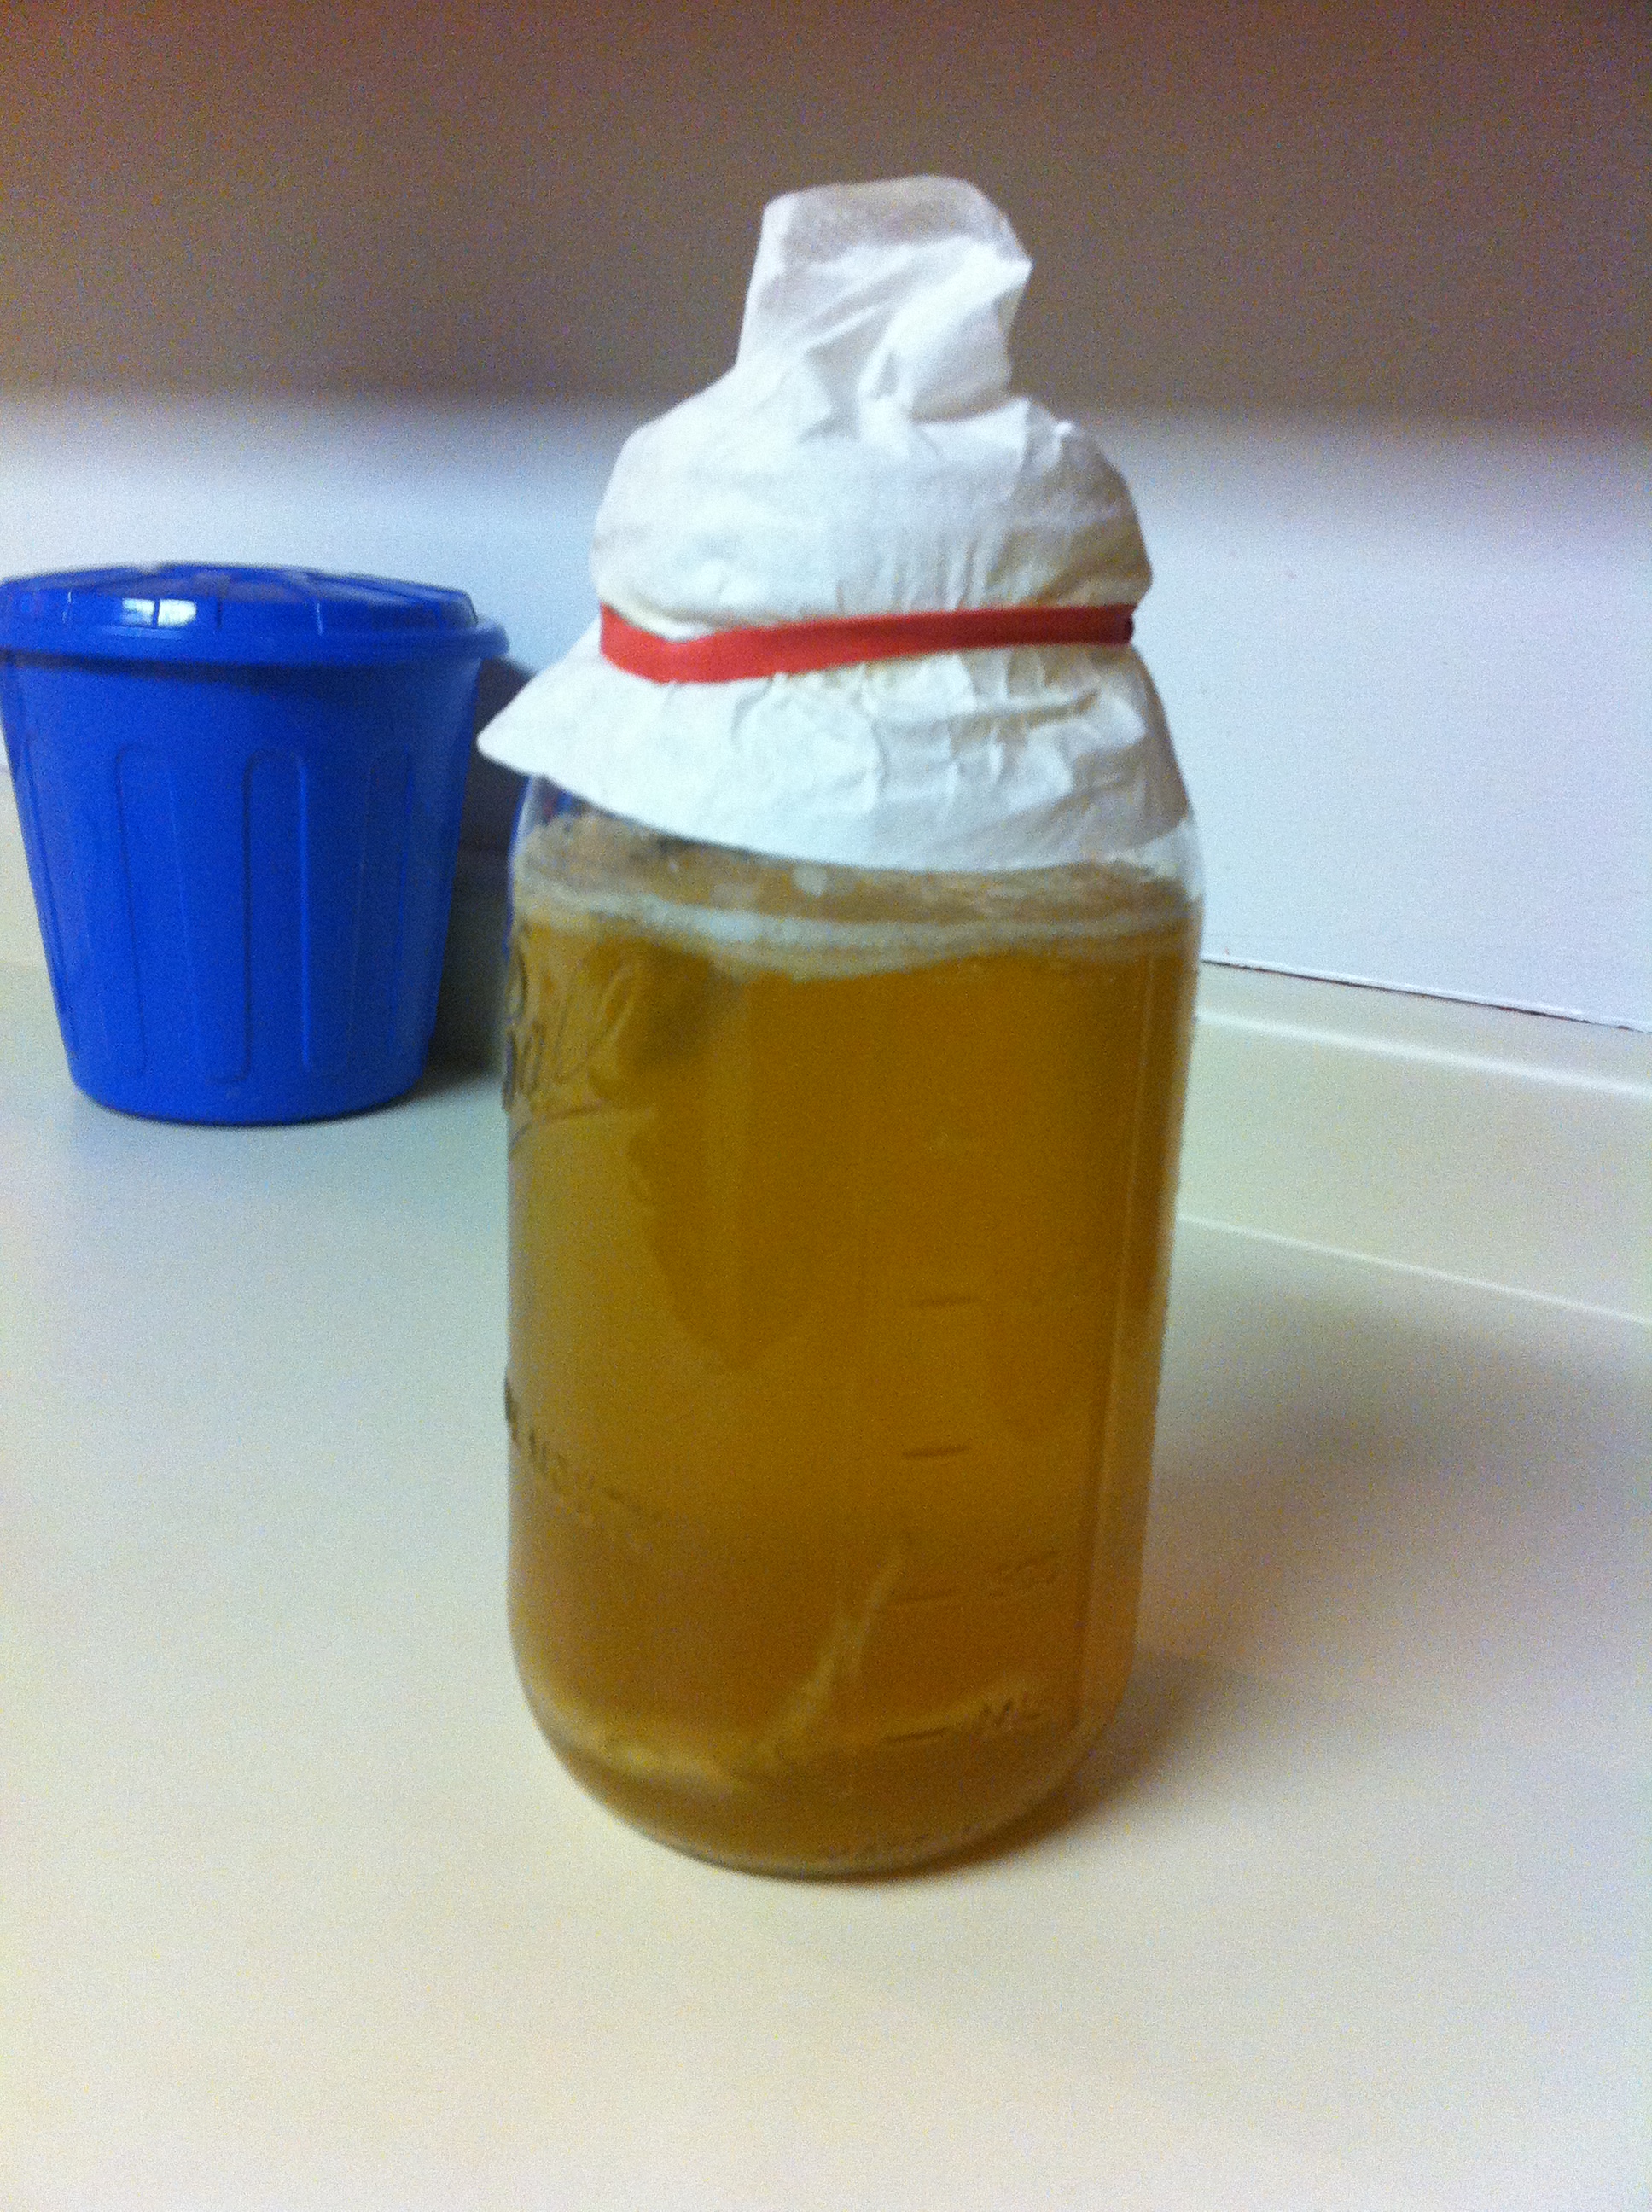
Divide the sweetened tea into the 6 SCOBY jars. Cover each jar with a coffee filter, fastened with a rubber band. This will allow air to escape without allowing fruit flies in!
Store in a warm, dark place for about 1 week. We store ours in the cupboard above our fridge.
After 5-7 days, taste your Kombucha to see if you think it’s ready to drink.
When the Kombucha is ready (according to your taste), proceed with the following steps….
You’ll need to strain the SCOBY out of each jar, so set a fine mesh strainer atop a large container (our blender pitcher works great for this). If you don’t have a fine mesh strainer, any strainer lined with a paper towel will work just fine. Cheesecloth would likely work, as well.
Pour the kombucha through the strainer. If necessary, use your finger to keep the SCOBY from falling out of the jar.
Rinse the SCOBY to remove any “gunk” from it.
Divide the SCOBY if necessary. See video demonstration…
NOTE: The extra SCOBY can be composted or given to friends (along with 1 cup of your Kombucha if you’re feeling extra generous)….or you can save it in the fridge (with enough Kombucha to cover it) so you can increase the number of jars you’ll be able make next time!
Return the SCOBY to a half-gallon jar and add 1 cup of your finished Kombucha.
Transfer remaining finished Kombucha to storage or drinking containers/jars.
BE SURE TO STORE FINISHED KOMBUCHA IN THE FRIDGE to halt the fermentation process!
At this point, you can store your SCOBY in the fridge (with enough Kombucha to cover it) or make more right away (like we do) by starting over with the steps at the top of this page.
Chad drinks quite a bit of Kombucha, so we make this much once/week! It may take a while to get a feel for how often you’d like to make it for your own use and to figure out how many jars you’d like to make at a time.
Did you like this article? If so, be sure to EMAIL SUBSCRIBE, and we’ll send you more great natural health and happiness tips for FREE!
If you have any tips/suggestions about our recipe, please leave us a comment below. Just because we make our own kombucha, doesn’t mean we have it all figured out. ; )

 INGREDIENTS: