Gluten-Free Oatmeal Cookies

20200125_151630.jpg

Don’t you just hate it when gluten-free cookies taste sooooo…. well…. sooooo….gluten-free?!

Me, too!

Well, hopefully you’ll agree that the recipe below is super tasty…and not at all gluten-free tasting!

Oh, and these cookies don’t require any obscure baking flours or special ingredients either! Score!

As long as you have a blender, you can just toss in some quick oats or old-fashioned oats to make yourself some oat flour real quick! Then, you’re good to go!

Boom!

(Psst….If you enjoy this recipe,  be sure to get yourself a copy of our e-book, “Eating Additive-Free“! It’s stuffed with 150+ more tasty recipes and a complete additive-free grocery shopping guide!! And, it’s FREE!)

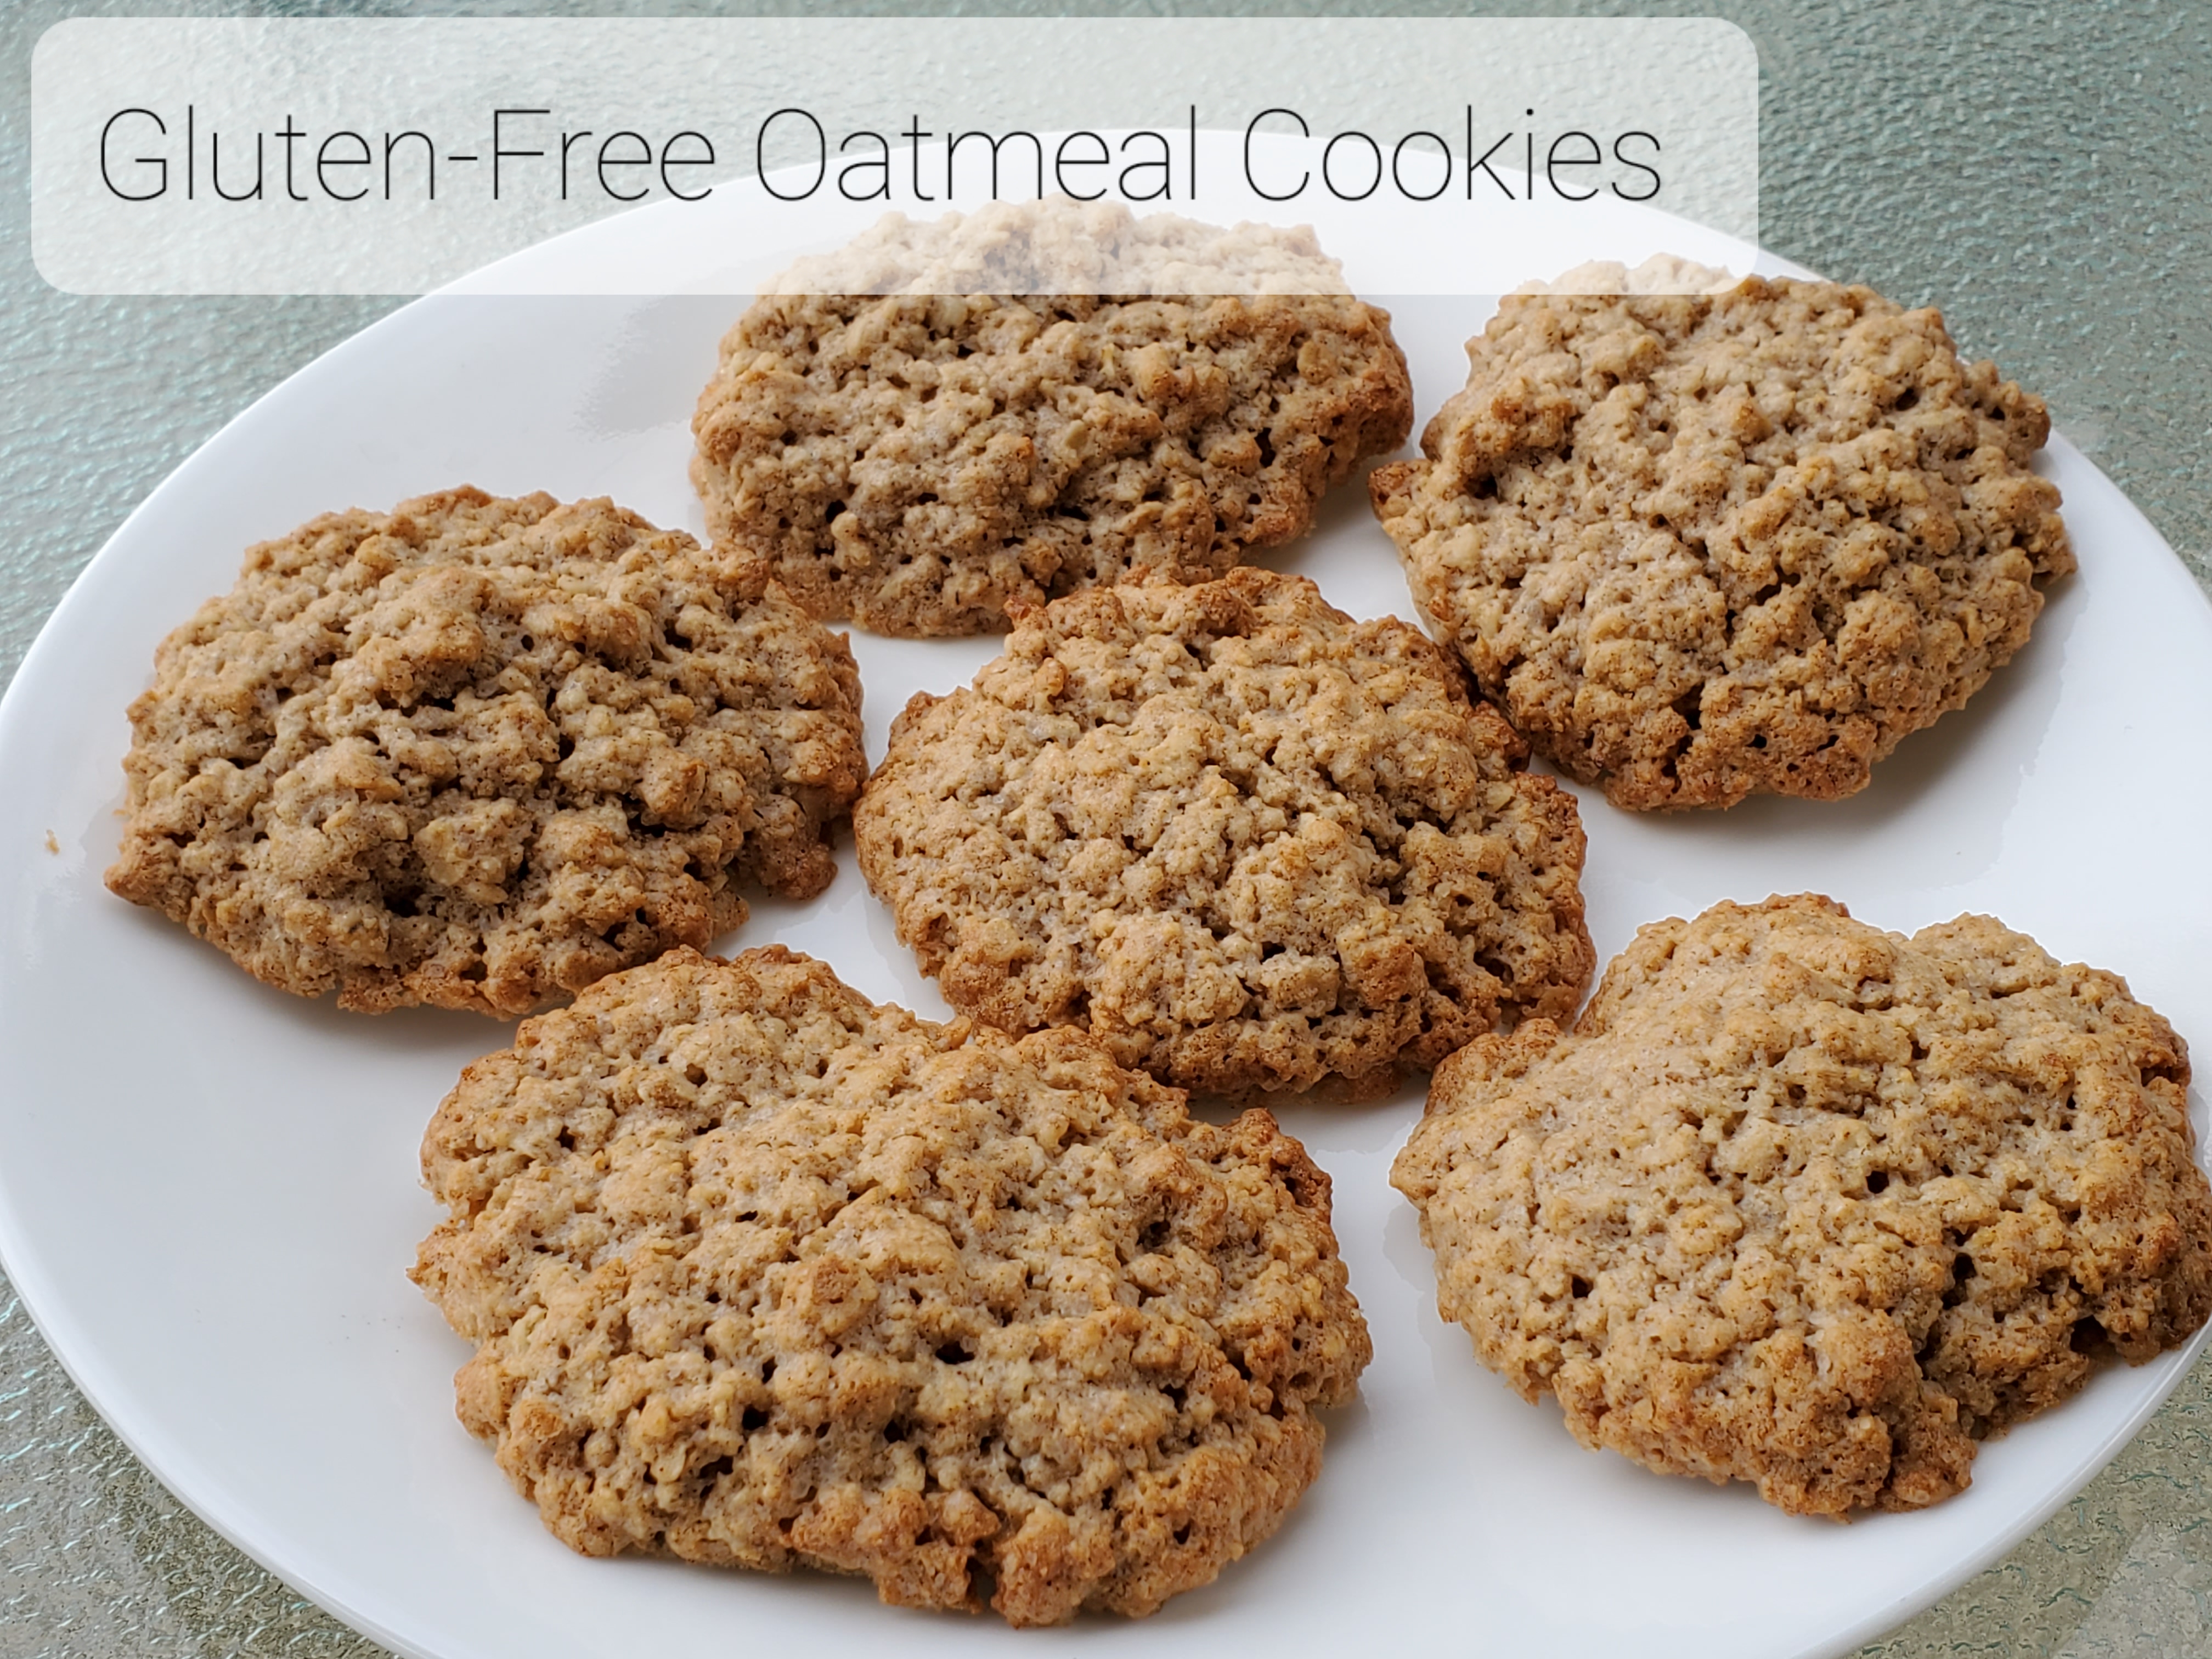
Gluten-free Oatmeal Cookie Recipe

Makes 24 small cookies

INGREDIENTS:
2/3 cup softened butter
2 tsp pure vanilla extract
2 eggs
1 cup cane sugar
1 1/2 cups oat flour* (just grind some oats in a blender)
1 1/2 cups quick oats*
1/2 tsp sea salt
1 tsp cinnamon
1/2 cup semi-sweet chocolate chips (optional)

*Be sure to use oats that are certified “gluten-free” if you are gluten intolerant.

(Check out our Grocery Shopping Guide for our tips on selecting the most additive-free versions of these ingredients.)

DIRECTIONS:

Preheat oven to 350 degrees, and line 2 cookie sheets with parchment paper.

In a medium mixing bowl, use a hand mixer to cream together the butter, vanilla extract and egg. Then, beat in the sugar until creamy.

Stir together dry ingredients (except for the chocolate chips) in a separate small mixing bowl.

Add dry ingredients into the wet ingredients, and stir to combine. Mix in chocolate chips (optional).

Drop by rounded tablespoon onto parchment paper. Bake 10-14 minutes, until golden brown.

Cool for a few minutes before removing from baking sheet. These are great warm or cooled!

Then, drop a few off at my house! Sluuuuurp! 

Enjoy! And be sure to check out our RECIPES PAGE for more great recipes!!!!

Doing Laundry in our RV

If you’ve secretly always wanted to watch me do laundry…today’s your lucky day! Ha!

No, but seriously, here’s the latest “behind-the-scenes” video of our RV life.

This one is about one of my FAVORITE things about our newest motorhome….it has a washer/dryer!!!!

(well…sort of….) 

We are sooooooooooo glad we took the plunge and spent the money for this washer/dryer combo (model Splendide 2100XC)!

Total game changer!

We definitely don’t miss the laundromat for a SECOND!

Oh, and I don’t get paid to say that I love the washer/dryer, so I’m not bias or anything.

Buuuuuut…there are a few tricks you need to know if you want your clothes to turn out nicely in these types of machines, as you’ll see in the video…

Glorious Beach Sunset!!

Wow. Just. Wow.

Things definitely have a way of working out…

The weather was SO perfect here yesterday! But… We were at work. Boo….

I busted my tail all day in hopes of leaving work by 3:30pm, so we could ride our bikes to the beach in the glorious warm and sunny weather…

Well… Good news, bad news…

Good news, I was outta there at 3:30pm sharp.

Bad news, the friggin’ marine layer (aka, “fog”) rolled in at 3:30pm sharp also. Ahhhhhh…. Noooooo…..

At 4:30pm I checked the tide level and discovered it was low tide (and a MINUS tide at that). Perfect time to hunt for beach treasures. Yay!

So… Although it was now dreary and chilly, I convinced Chad we should at least drive down to the beach for a quick little treasure hunt before it got dark outside.

We enjoyed a nice beach stroll together, but didn’t really find anything special.

Until…

the sun started to set…

And the low tide created a wondrously reflective wet beach for some amazing sunset reflections!!

What an incredibly blessed stroll it turned out to be. So especially unexpected since at our campground just 1 mile down the road, there was 100% cloud cover with what we thought was ZERO chance of getting to see a sunset at all that night.

I still can’t believe how rich the colors were! Sooooooo grateful!!

Perfect (Instant Pot) Brown Rice

Would you like to eat more brown rice, but you prefer the texture of white rice so much more?

Are you tired of your brown rice turning out too mushy….or too dry…or just too…whatever???

Instant Pot is here to save the day! (No, I don’t get paid to say that….unfortunately.)

Just follow the super simple instructions below, and you’ll be amazed at how perfectly your brown rice cooks up. Every. Single. TIME! Yay!!

Wait….whaaaaaat? You don’t have an Instant Pot???? Well, you are really missing out! I’ve only made a handful of things in mine, so far, and I’m already in LOVE!

(Psst….If you enjoy this recipe,  be sure to get yourself a copy of our e-book, “Eating Additive-Free“! It’s stuffed with 150+ more tasty recipes and a complete additive-free grocery shopping guide!! Your satisfaction is guaranteed…or your money back!)

Perfect (Instant Pot) Brown Rice Recipe

Ingredients:

  • Brown rice
  • water
  • splash of olive oil

Directions:

  1. Add equal parts brown rice and water to your Instant Pot. (Yes, that’s right….equal parts!!! Crazy, huh? But trust me.)
  2. Add a splash of oil, and give it a stir.
  3. Seal the Instant Pot, so the vent is closed.
  4. Cook on High pressure for 22 minutes. (It takes about 10 minutes for 2 cups of rice and 2 cups of water to reach pressure. FYI.)
  5. Allow pressure to release naturally for 10 minutes.
  6. Enjoy your amazingly perfect, no-fuss brown rice!

Note: If you make a larger batch, it will likely take longer to come to pressure. So your overall waiting time will be longer.

Enjoy! And be sure to check out our RECIPES PAGE for more great recipes!!!!