Folks are usually pretty surprised to bump into me at Costco. After all, warehouse clubs are often known for their bargain deals on processed foods.
Bags of chips as tall as me and 20 gallon tubs of mayo may be why many folks join, but…. I find deals on tons of basic foods/ingredients, and the savings easily covers the cost of my membership each year. They also offer quite a few organic options, even in their produce (and frozen veggies). They carry some “certified organic” beef and chicken, as well, and sometimes some “wild caught” fish. Then, of course, there are all of the household items, etc. But just the food alone saves me enough money to make the trip worth my while.
I snapped a pic of my grocery cart while I was there today to show you an example of the things I find there. I also snapped a pic of my receipt so you can compare the prices to your grocer! (Click photos to enlarge.)
You can go there for free to check it out and compare prices to decide if you’d like to join. Just tell them you’re there to “look around.” You just won’t be able to purchase anything until you become a member.
Let me know if you have any questions. And if you sign up for a membership, ask me how to earn yourself a $10 Costco cash card when you join 🙂
Vita Mix will be demonstrated (and for sale) at Costco in Omaha June 10-19th. I purchased my machine through Costco because they had the best price in town, which also meant NO shipping! Costco also has a “no limits” return policy, so I knew I could try out the machine for a while to make sure I liked it. Also, there would be no shipping fees for returning it. As you’ve likely guessed, I never decided to return it! We use it to make healthful smoothies everyday and all sorts of fun desserts, etc. These machines are expensive (just under $400) but well worth the money, especially if you’re looking to incorporate more veggies into your diet!
Folks are always asking me, “What can I drink besides water?!” I know they’re hoping I’ll present them with a recipe for diet soda that’s homemade and somehow magically healthful for them, but unfortunately that doesn’t quite exist. LOL! So why not try some Kombucha!! It’s a fermented tea – full of healthful probiotics. Pretty much the opposite of soda pop! 🙂
You can buy it at the store, but it costs about 4 bucks per bottle!!! So we save $$ and make our own!!!
The steps of this recipe are organized with the assumption that you have in your possession some Kombucha starter culture(s), called SCOBY – “Symbiotic Culture Of Bacteria and Yeast.”
My hubby Chad makes 6 half-gallon jars at a time, so you’ll need to divide this recipe by about 6 if you want to make just one jar. Each jar nets you about 5 cups to drink when all is said and done. (Click any pictures to enlarge.)
Chad uses:
*6 kombucha starter cultures (“SCOBY”)
*6 cups kombucha (store-bought or from previous batch)
*3 cups organic cane sugar
*20 green tea bags – we prefer the taste of Whole Foods’ 365 brand OR Uncle Lee’s Organic Green Tea from Walmart)
*6 Liters water
*1/2 -1 Liter ice
Instructions:
Bring 6 liters of water to a rolling boil in a large stock pan. Remove from heat and add the tea bags. Steep for 10-12 minutes.
Meanwhile, place each SCOBY in a half-gallon jar. Add 1 cup of pre-made Kombucha (from a friend or the store – – for each following batch, you can use some of your own!) to each SCOBY/jar. This is done to acidify (lower the pH of) the new solution right away, which will prevent most molds and pathogenic bacteria from growing in it.
After 10-12 minutes, remove tea bags from the water (feel free to compost these!). Add 3 cups cane sugar and stir until dissolved.
Add ice and allow tea to cool completely.
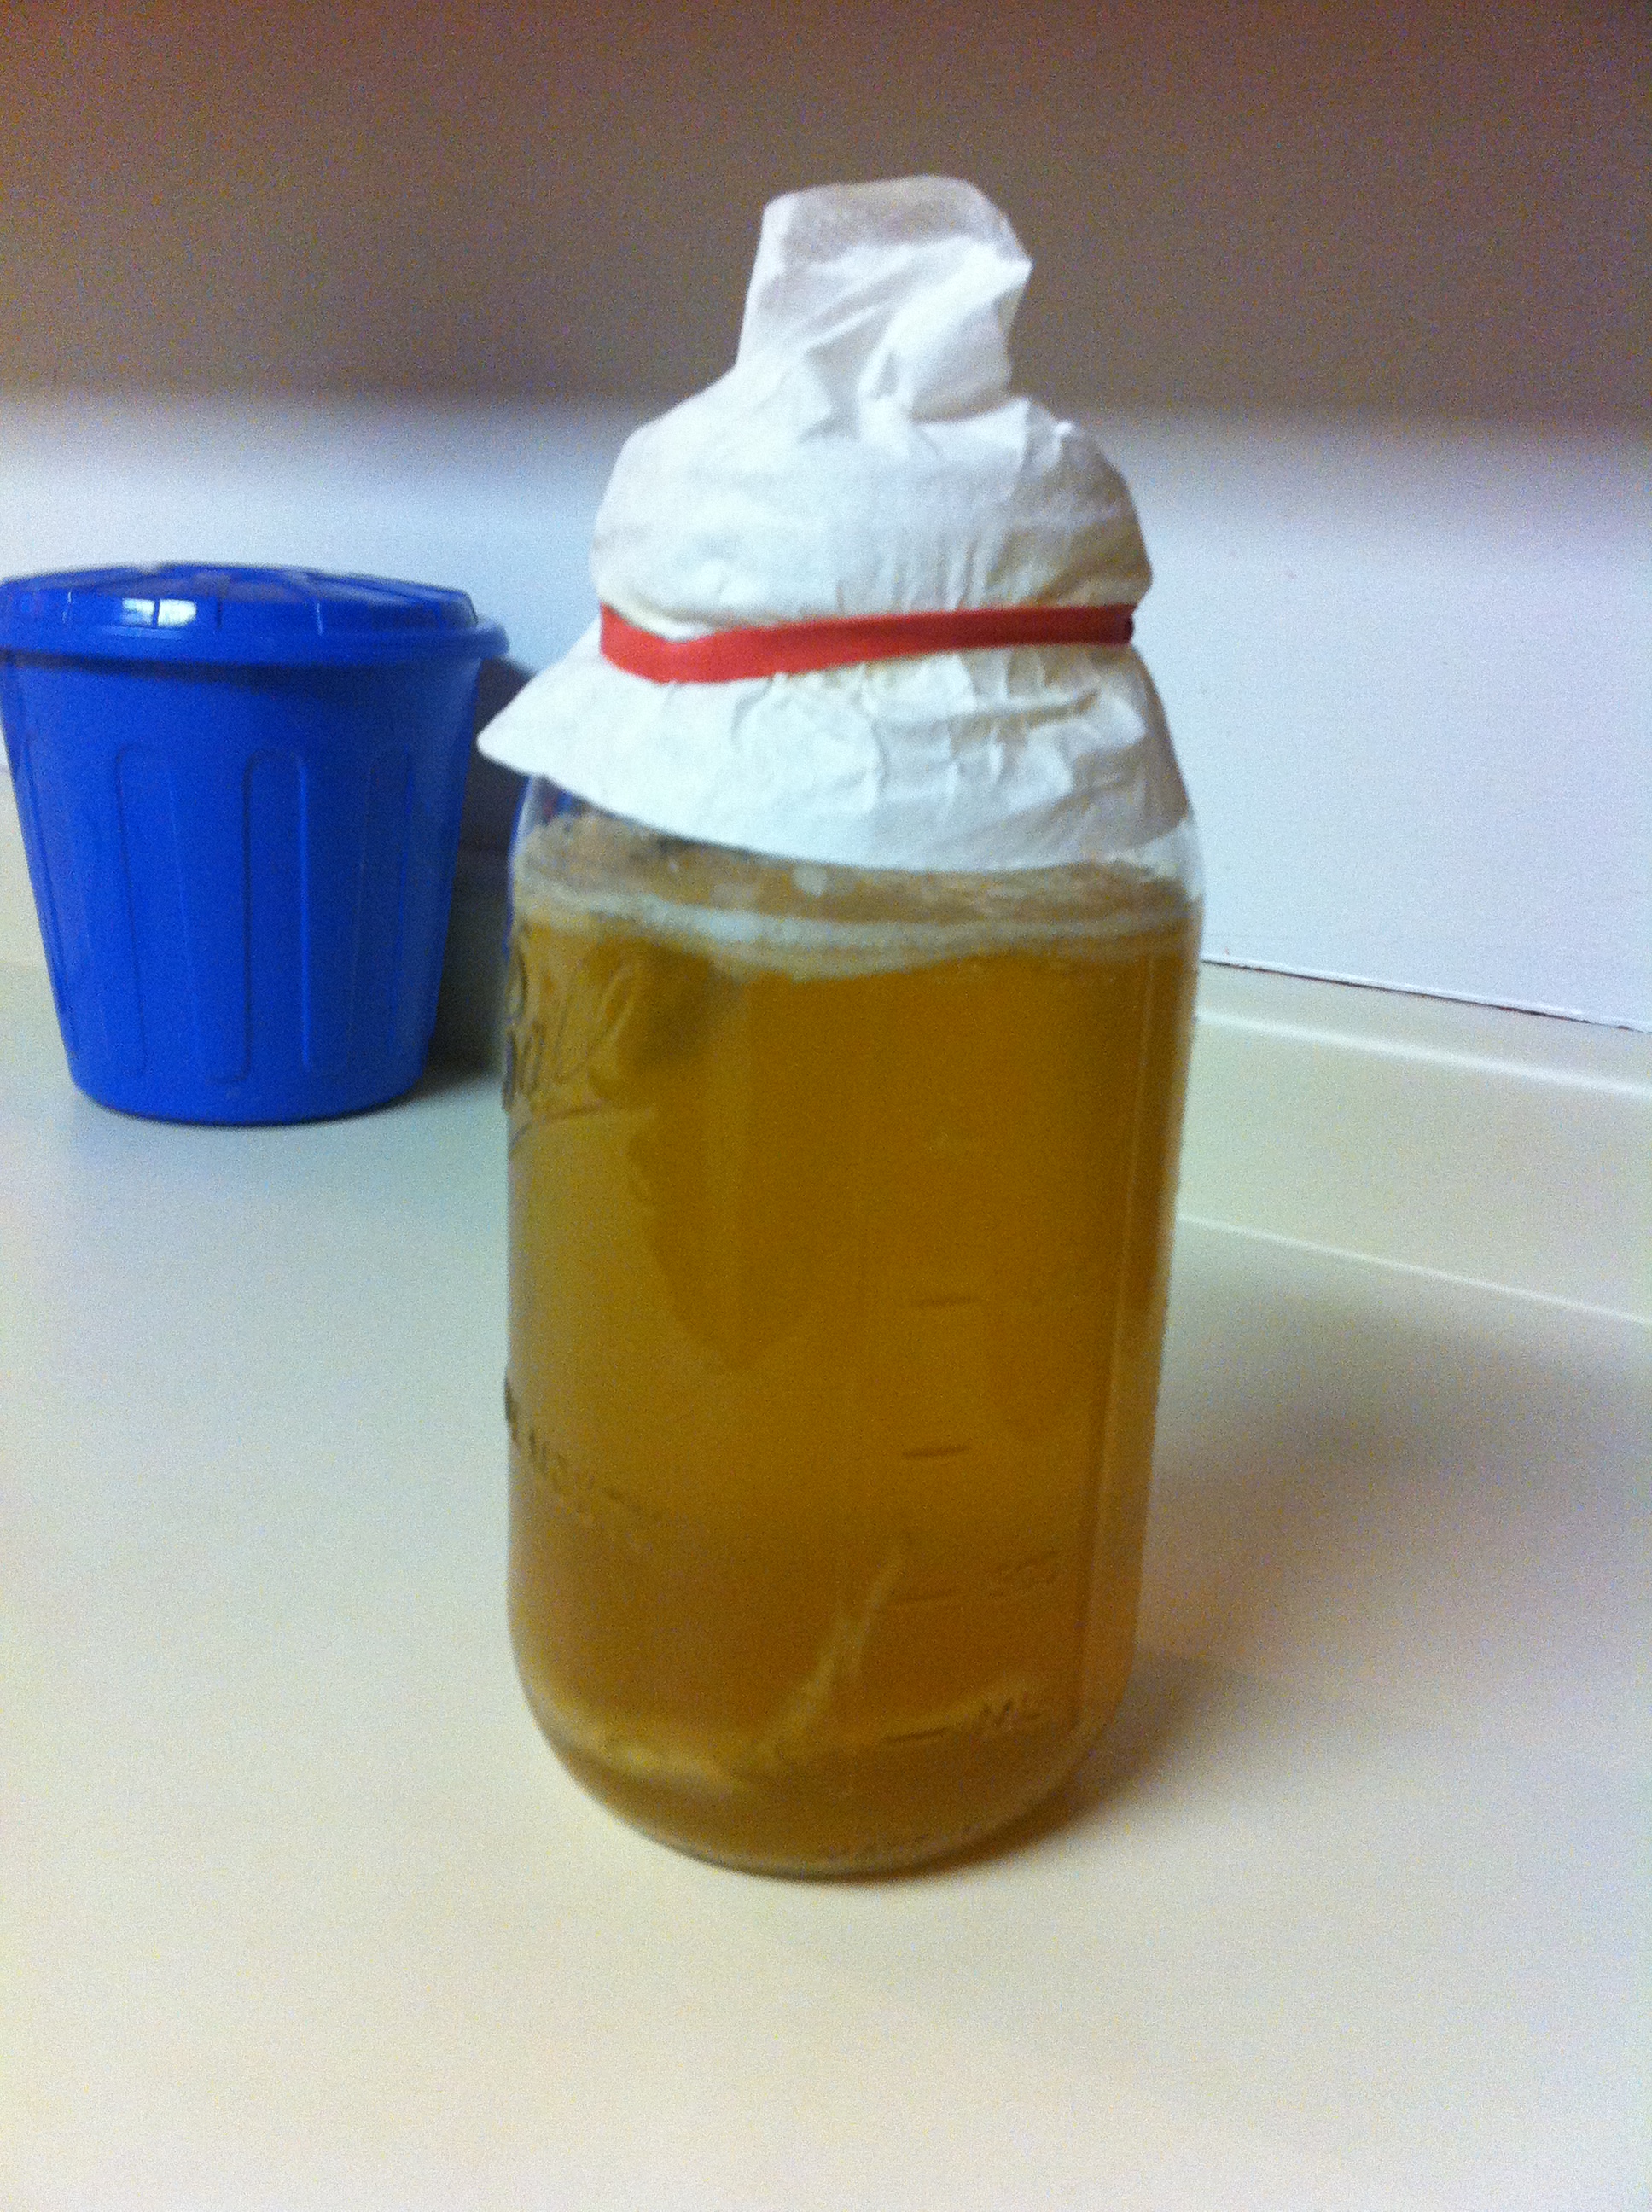
Divide the sweetened tea into the 6 SCOBY jars. Cover each jar with a coffee filter, fastened with a rubber band. This will allow air to escape without allowing fruit flies in!
Store in a warm, dark place for about 1 week. We store ours in the cupboard above our fridge.
After 5-7 days, taste your Kombucha to see if you think it’s ready to drink.
When the Kombucha is ready (according to your taste), proceed with the following steps….
You’ll need to strain the SCOBY out of each jar, so set a fine mesh strainer atop a large container (our blender pitcher works great for this). If you don’t have a fine mesh strainer, any strainer lined with a paper towel will work just fine. Cheesecloth would likely work, as well.
Pour the kombucha through the strainer. If necessary, use your finger to keep the SCOBY from falling out of the jar.
Rinse the SCOBY to remove any “gunk” from it.
Divide the SCOBY if necessary. See video demonstration…
NOTE: The extra SCOBY can be composted or given to friends (along with 1 cup of your Kombucha if you’re feeling extra generous)….or you can save it in the fridge (with enough Kombucha to cover it) so you can increase the number of jars you’ll be able make next time!
Return the SCOBY to a half-gallon jar and add 1 cup of your finished Kombucha.
Transfer remaining finished Kombucha to storage or drinking containers/jars.
BE SURE TO STORE FINISHED KOMBUCHA IN THE FRIDGE to halt the fermentation process!
At this point, you can store your SCOBY in the fridge (with enough Kombucha to cover it) or make more right away (like we do) by starting over with the steps at the top of this page.
Chad drinks quite a bit of Kombucha, so we make this much once/week! It may take a while to get a feel for how often you’d like to make it for your own use and to figure out how many jars you’d like to make at a time.
Did you like this article? If so, be sure to EMAIL SUBSCRIBE, and we’ll send you more great natural health and happiness tips for FREE!
If you have any tips/suggestions about our recipe, please leave us a comment below. Just because we make our own kombucha, doesn’t mean we have it all figured out. ; )